 Last updated: May 24, 2022 at 6:52 PM
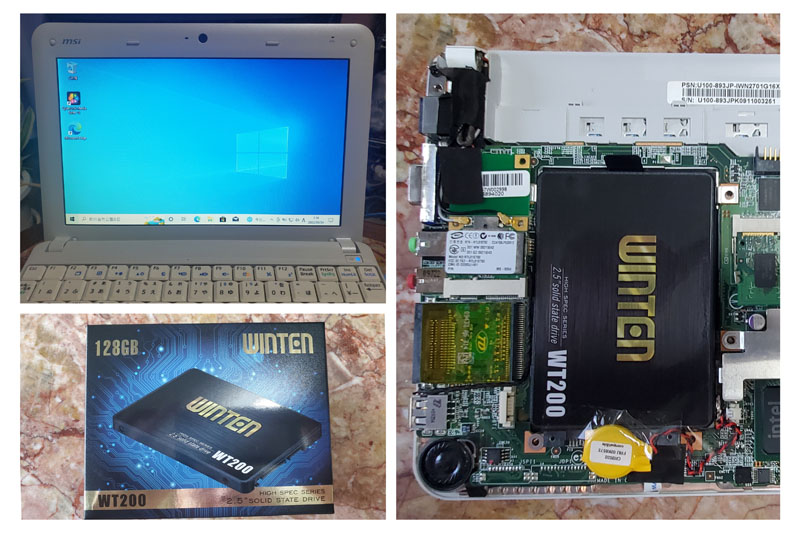
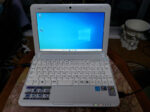
Last time, as shown in the following article, I increased the memory of MSI U100 that I had received from an acquaintance to 4GB and installed Windows 10, but the CPU of this laptop is 1 core and low spec "Intel Atom N270 1.58 GHz" Because it is "(32 bit)", the operation of Windows 10 is deadly slow, and it is very unbearable for practical use.
Therefore, I decided to replace the HDD of this laptop computer with an SSD because I wanted to make it usable a little more.
Replacing with SSD is the same as replacing the button battery of MSI U100 and adding memory, first disconnect the power cable and battery pack of U100, remove the back cover, and then work.
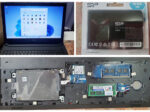
This time, I will replace it with the following SSD (128GB) purchased at Amazon for 2,350 yen.

Replacement with SSD
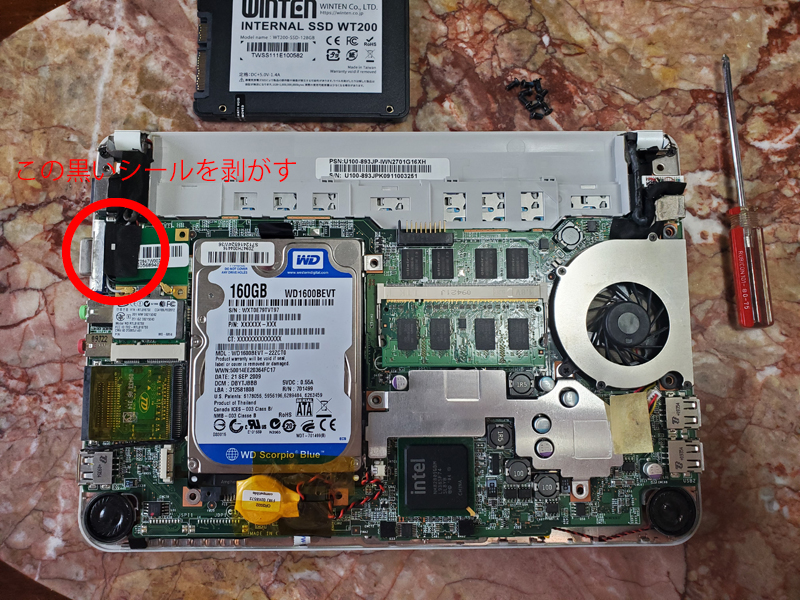
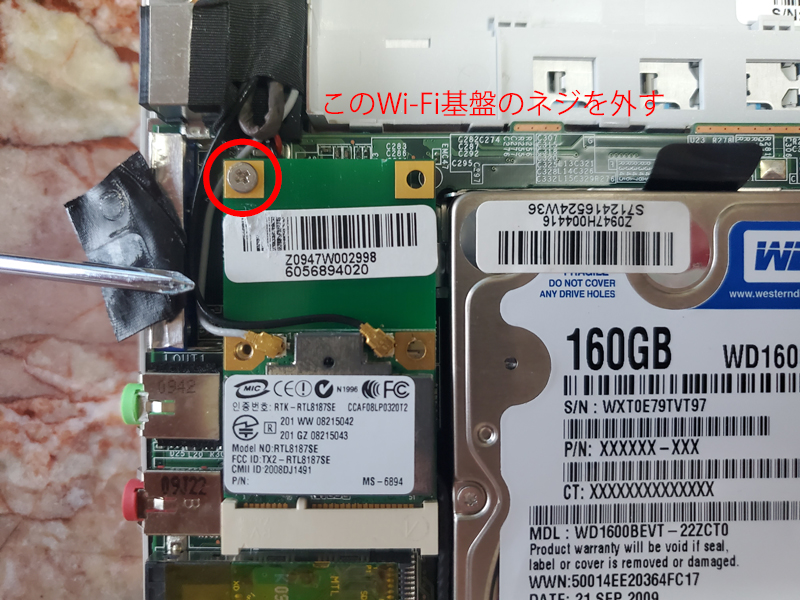
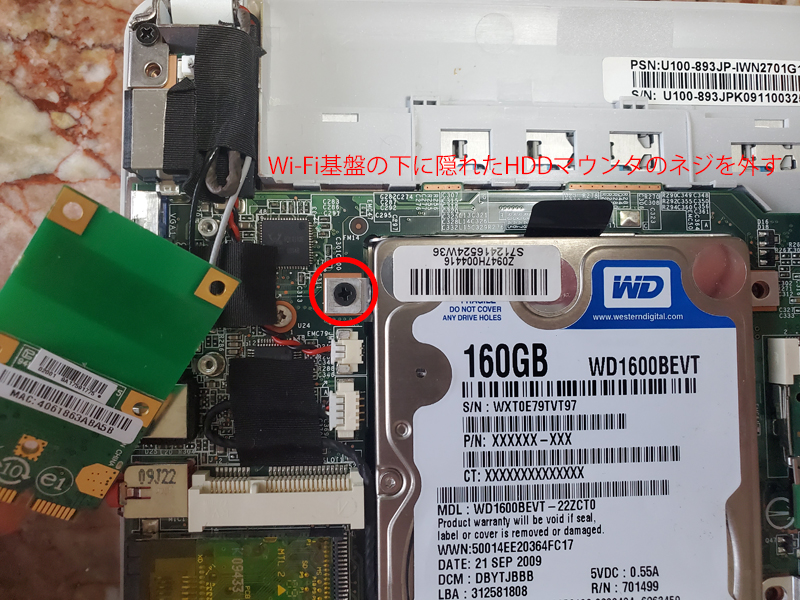
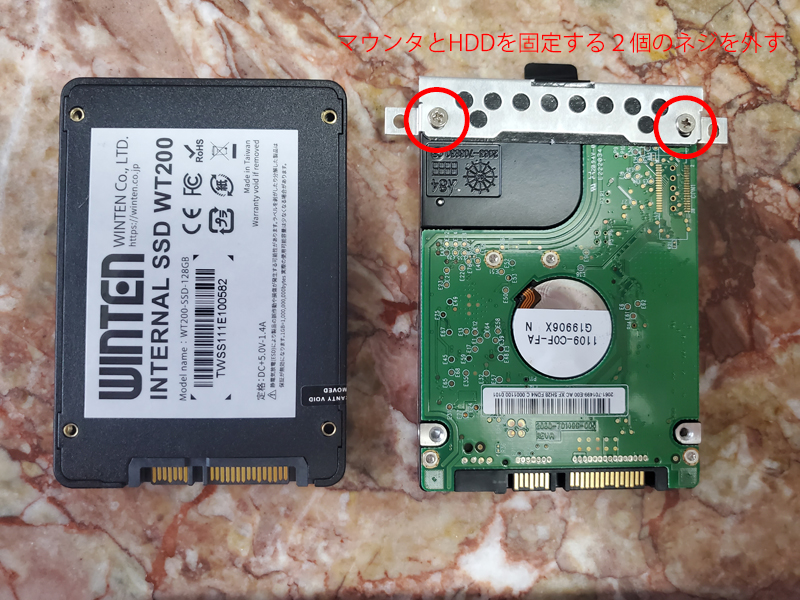
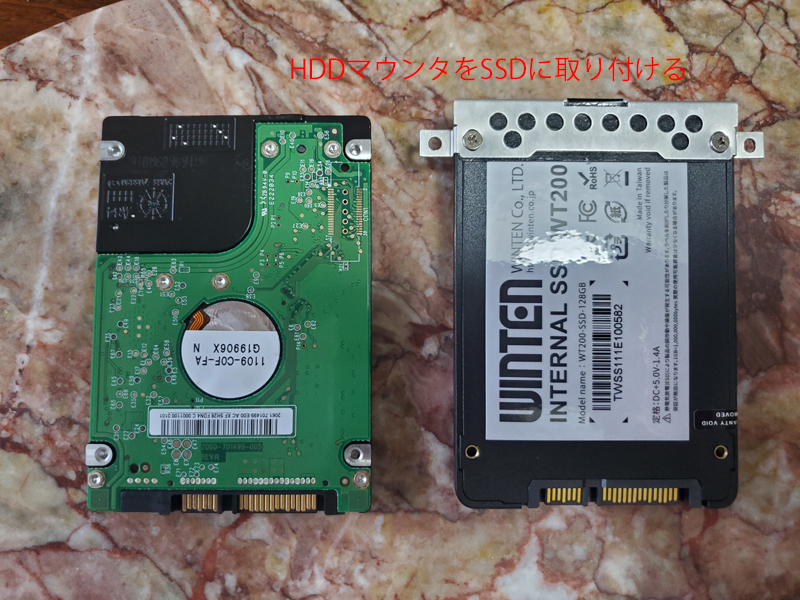
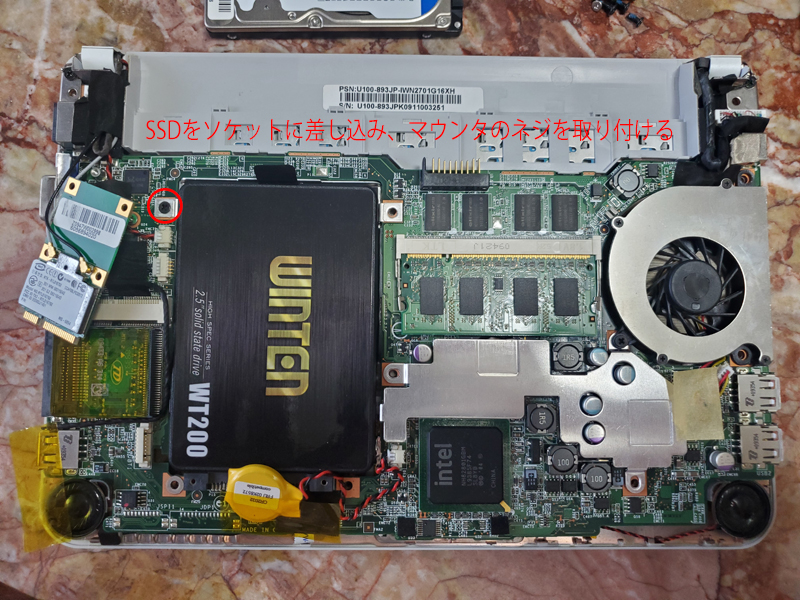
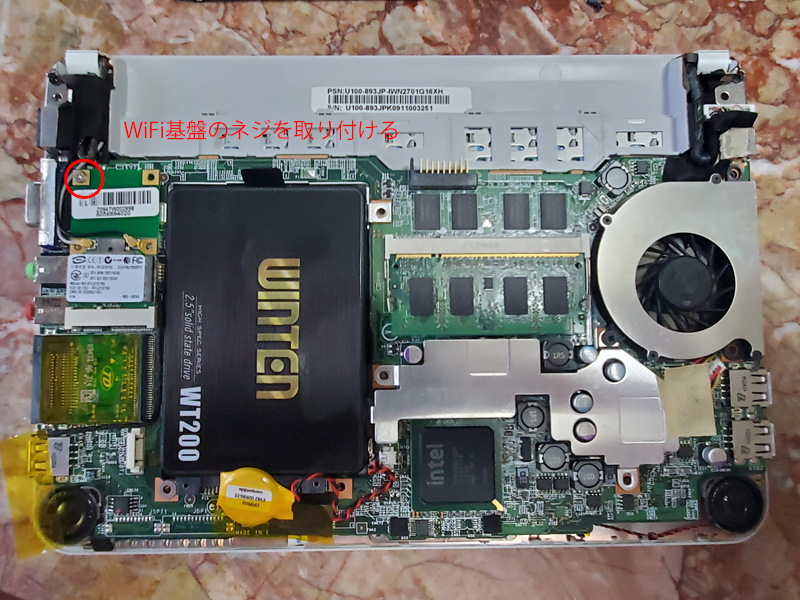
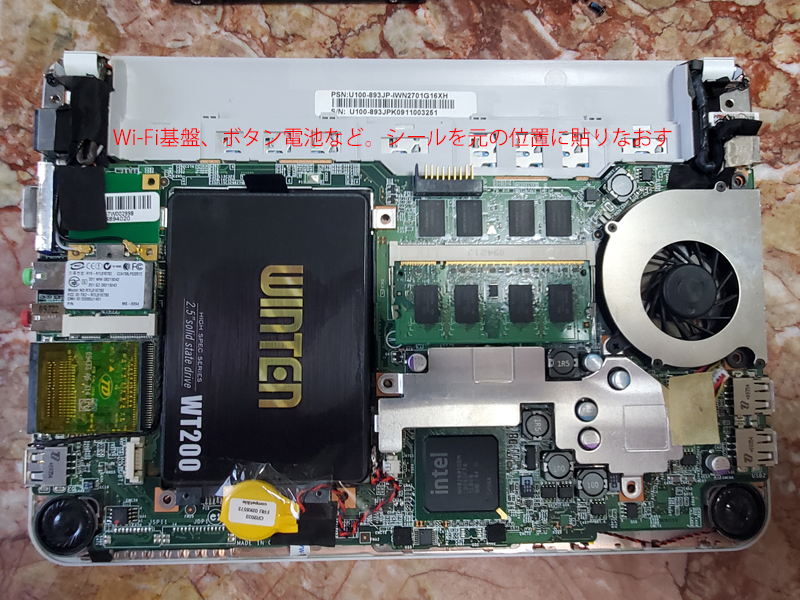
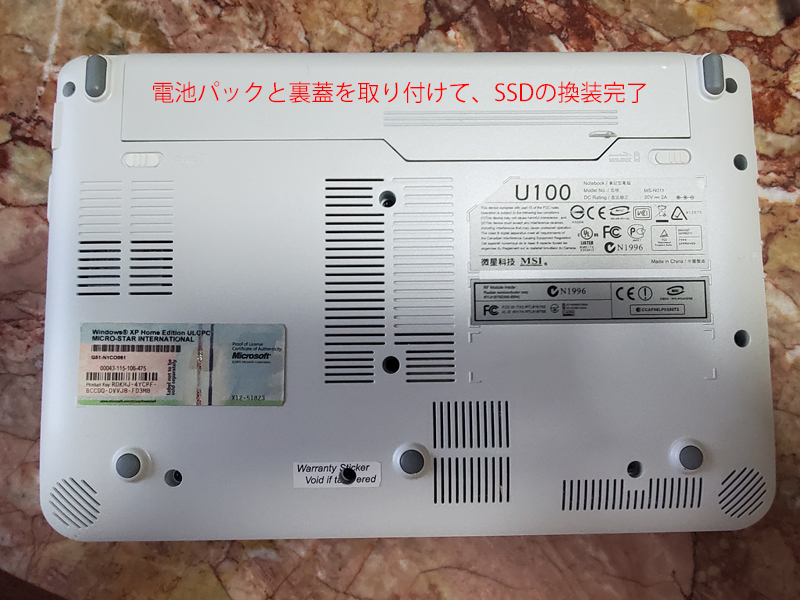
In U100, the replacement with SSD is done after first removing the Wi-Fi board (the'board'of the image is a typographical error). Removing the HDD and installing the SSD is very easy.
The following gallery shows how to replace with SSD.

Windows 10 installation
Unfortunately, the CPU of the U100 is 32bit, so even if you take the workaround by changing the registry, you will not be able to install Windows 11 (provided only for the 64bit version).
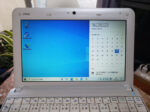
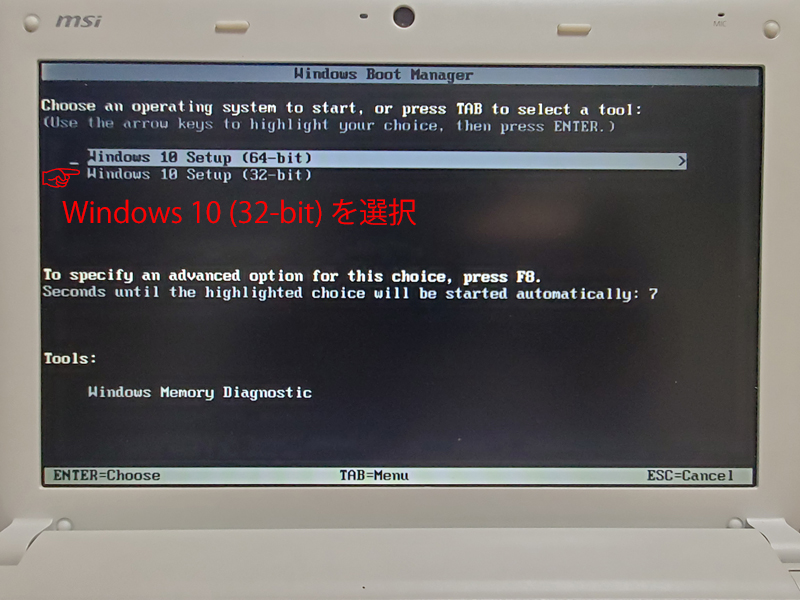
Therefore, install Windows 10 on the SSD drive after replacement.
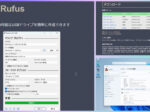
Please note that the U100 cannot boot from a USB stick in the BIOS settings. Therefore, BOOT from the DVD drive.
Also, the Chromium version of the browser Edge is included in the release of Windows 10 version 21H1 (also known as Windows 10 May 2021 Update), so if you repeat Windows Update to the latest, it will be installed automatically.
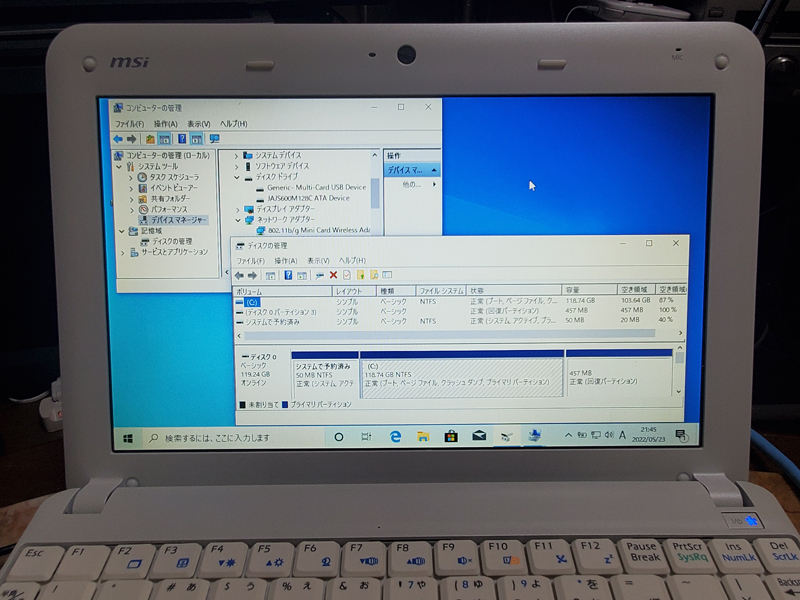
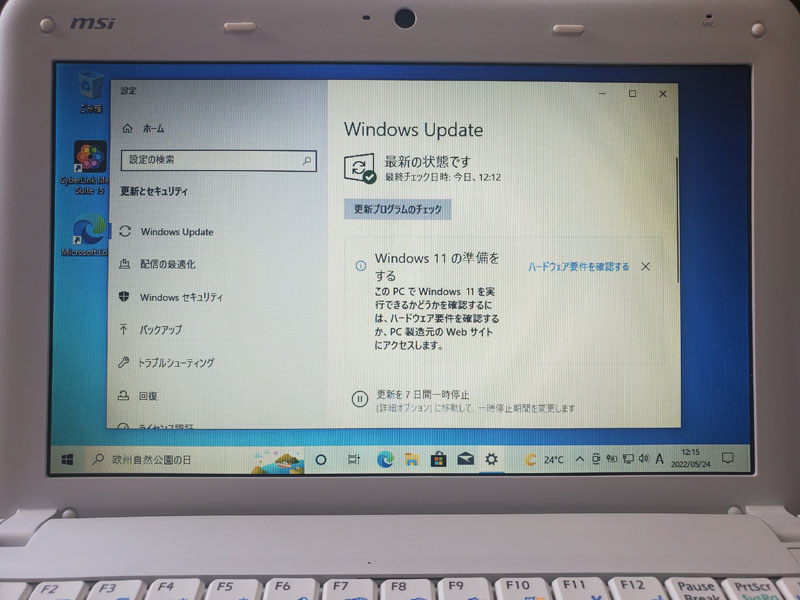
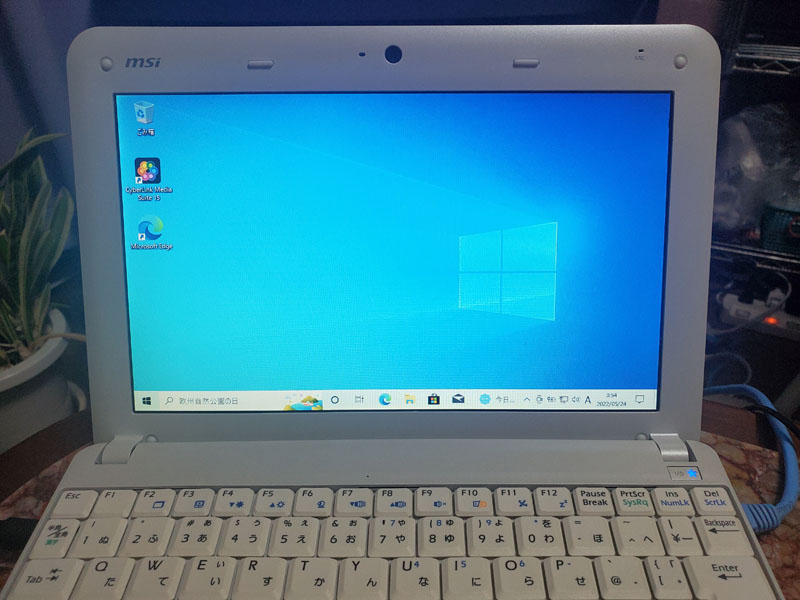
The above work, if not dramatic, has made it a little faster.
I installed CyberLink Media Suite to enable watching CDs and DVDs, but it seems difficult to watch DVDs because the CPU power is basically low. If it's a CD, it's okay.
Then, after installing the necessary apps, to reduce the load on the CPU and memory as much as possible,
It is recommended to minimize the startup apps by going to [Settings] ⇒ [Apps] ⇒ [Startup].
Just in case, in the Windows settings, it is a good idea to also support TLS 1.3 (experimental stage) from "Network and Sharing Center ⇒Internet Options ⇒Advanced Settings".
