 Last updated: December 5, 2023 at 7:15 PM
Last year, I forcefully installed Windows 11 (21H2) on two PCs that didn't meet the Windows 11 system requirements, but Windows Update wouldn't let me upgrade to the new release of Windows 11, 22H2.
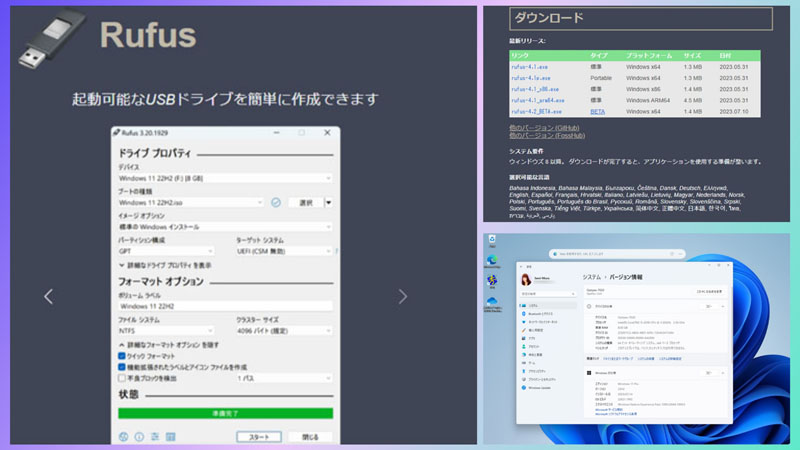
Therefore, this time, I decided to update from 21H2 to the latest release of 22H2 using the tool "Rufus" that can create USB installation media that bypasses Windows 11 installation requirements.*
*Updated on 2023.11.07
The current latest release is 23H2.
Create Windows 11 22H2 USB installation media with Rufus
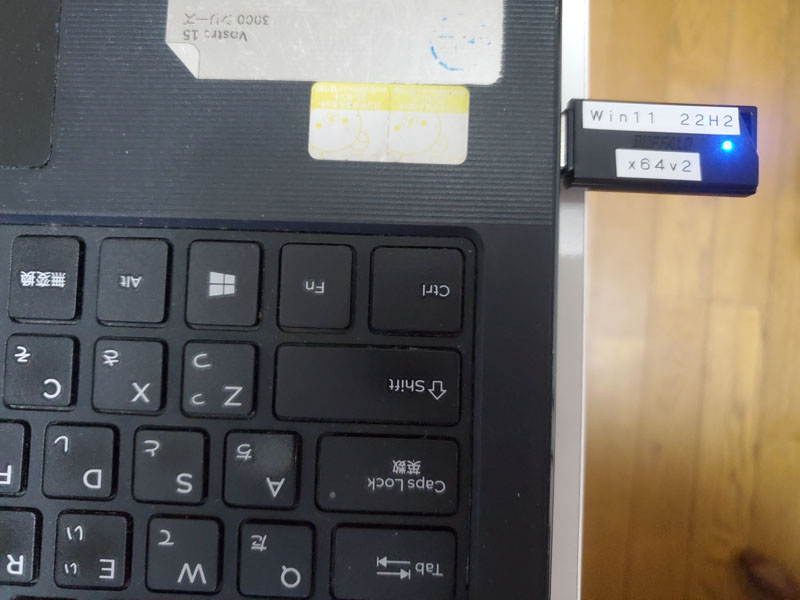
Rufus is software for creating and formatting USB installation media from a bootable ISO file (Windows, Linux, UEFI, etc.) to a USB flash drive (USB stick, etc.).
This time we will use Rufus to create a USB installation media that bypasses the requirements (Secure Boot & TPM2.0) set by Microsoft to install Windows 11.
Download Rufus from the official site below.
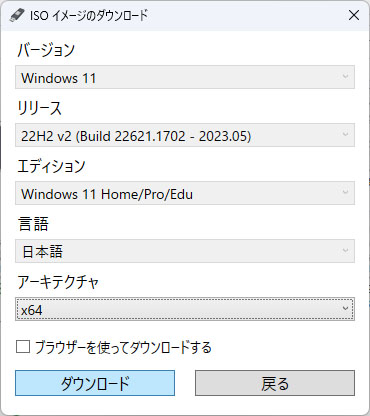
The gallery below will walk you through downloading and launching Rufus, downloading an ISO image of Windows 11 (22H2) and creating a USB installation media.
In addition, a USB memory with a capacity of 8 GB or more is required to create Windows 11 installation media.
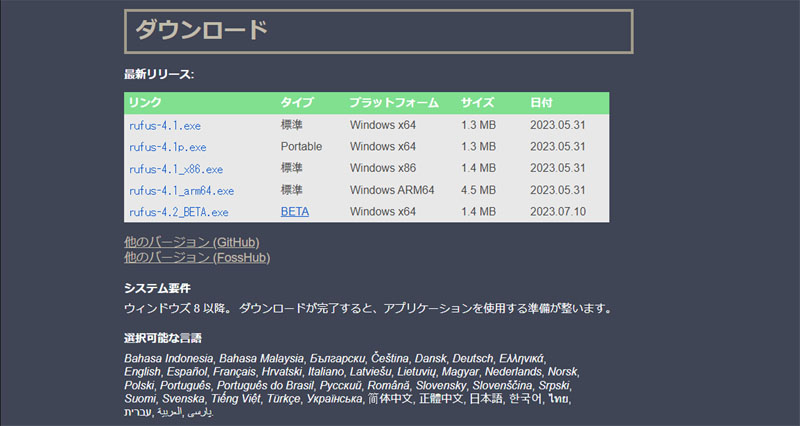
In this example, we specify the type “Portable”

Rufus update policy specifies yes
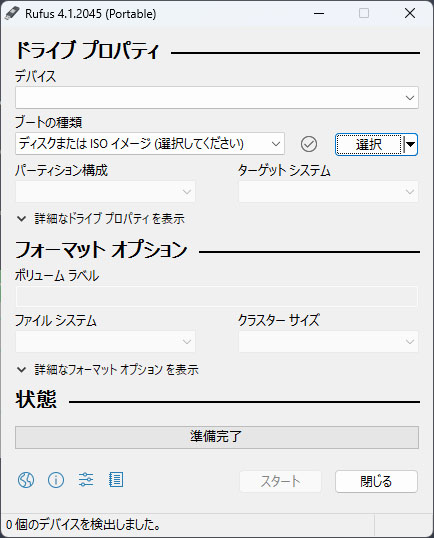
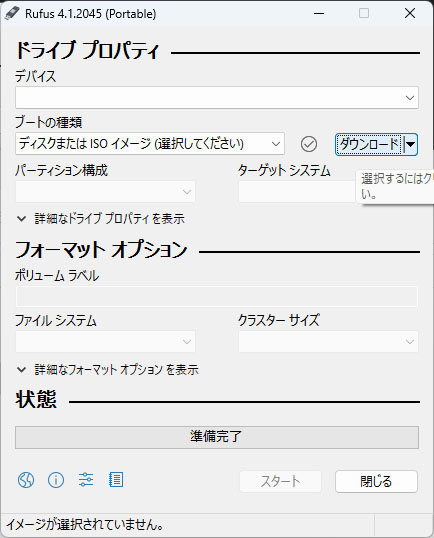
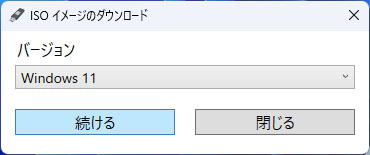
Version "Windows 11" ⇒ Continue
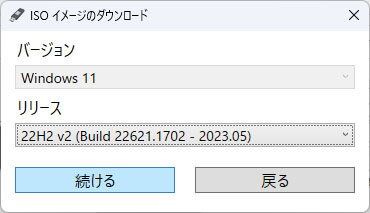
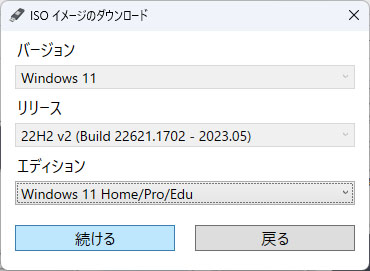
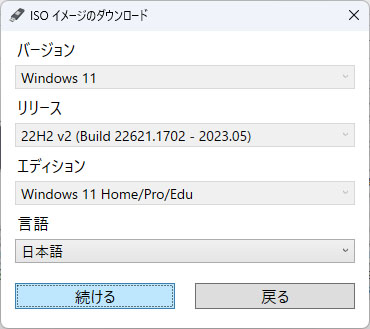
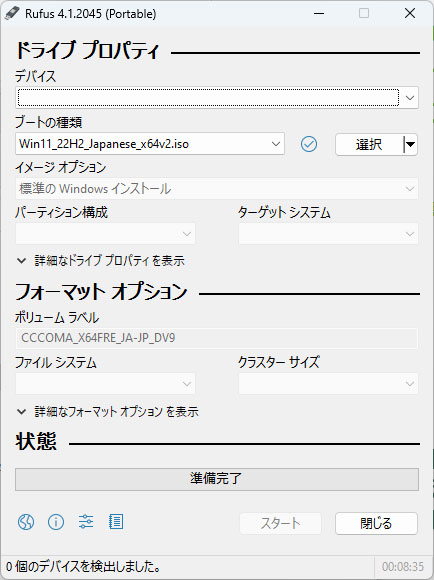
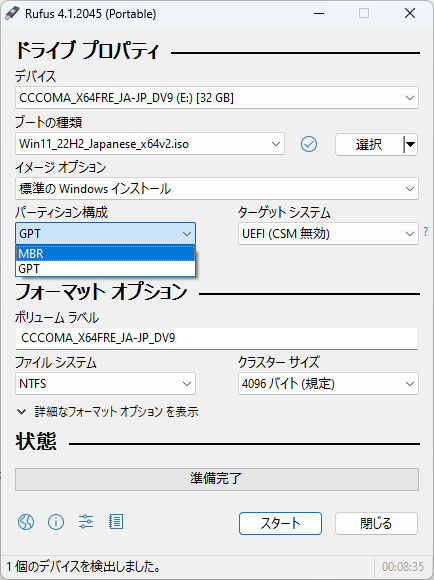
Select "MBR" for older PCs that do not support booting in UEFI mode
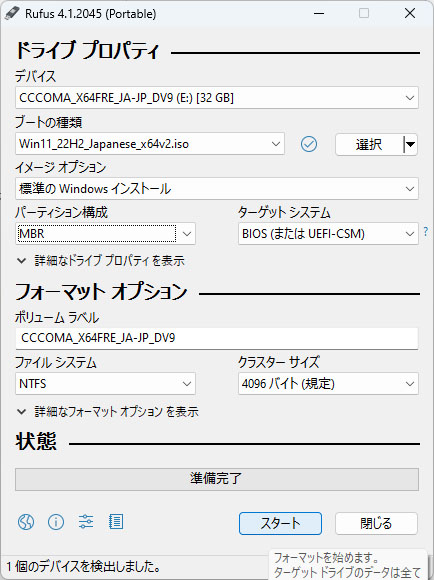
If the partition configuration is MBR, select "BIOS (or UEFI-CSM)" and click "Start"
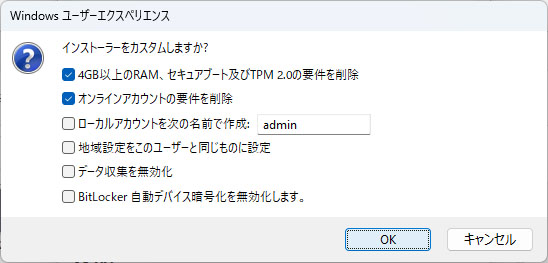
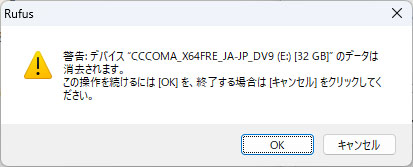
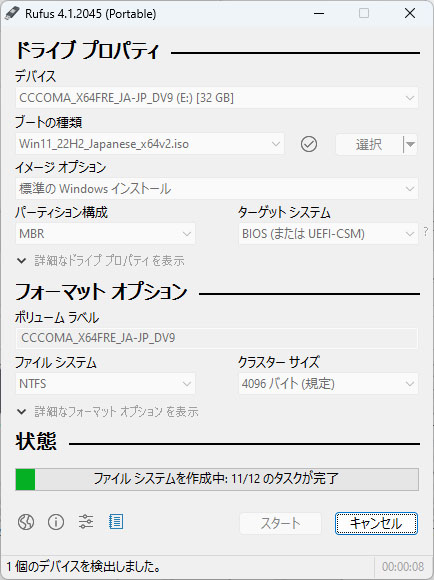
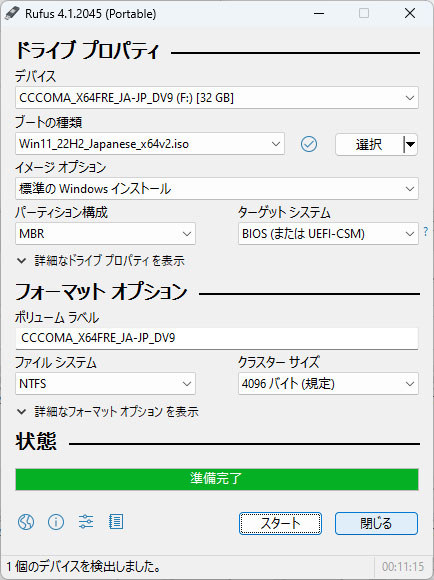
Installing (upgrading) Windows 11 22H2
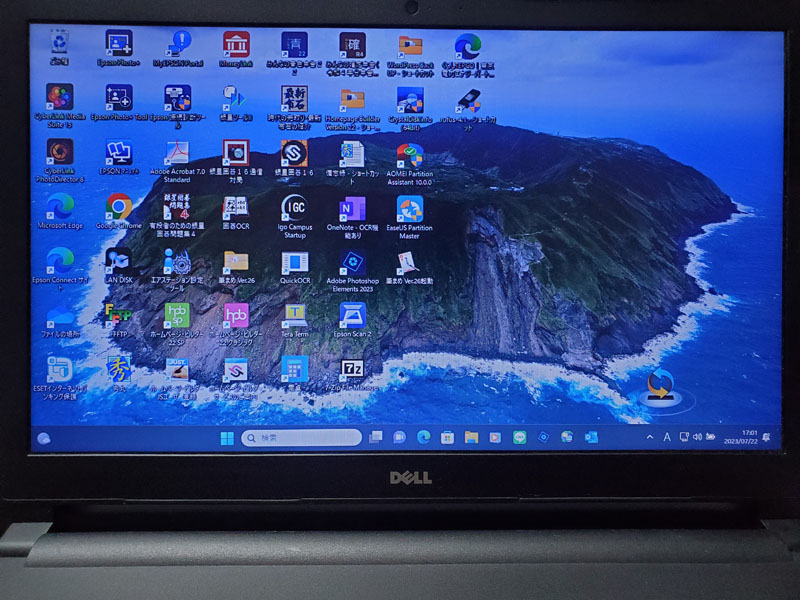
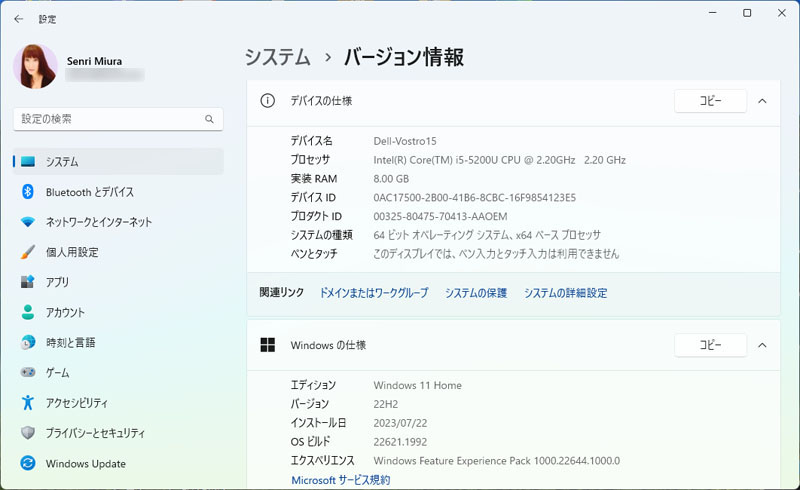
In this example, we will be updating a DELL laptop Vostro 15 to the latest release edition of Windows 11.
To update Windows 11, from the Rufus-created USB installation media drive, click “setup” and follow the steps below.
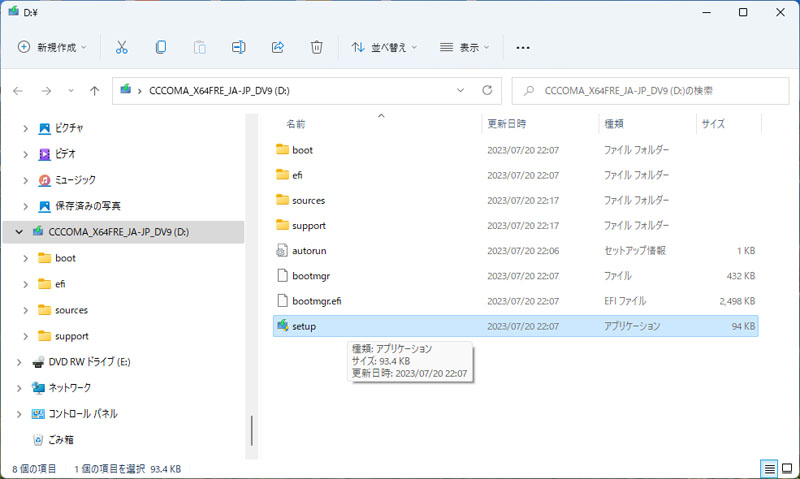
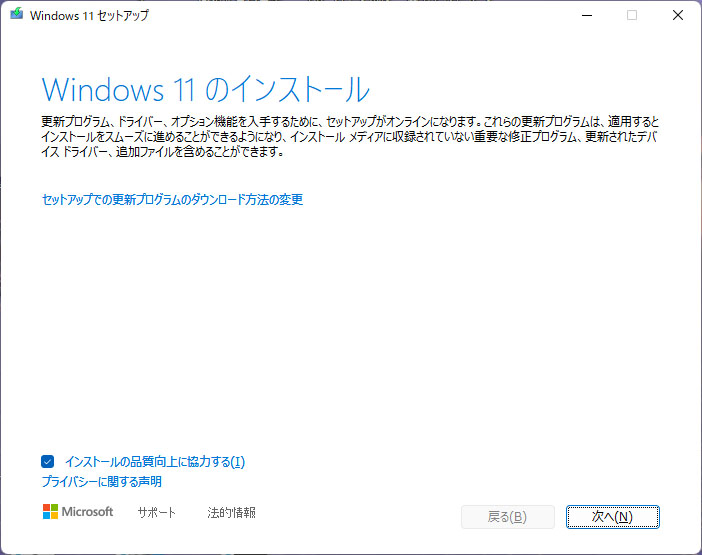
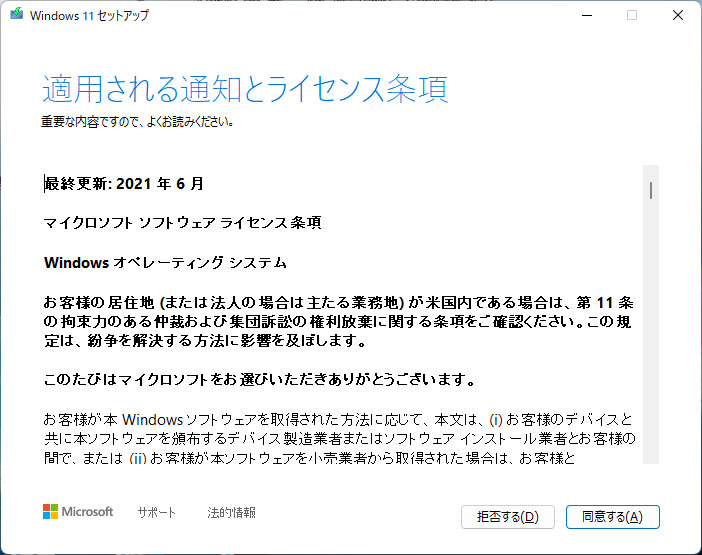
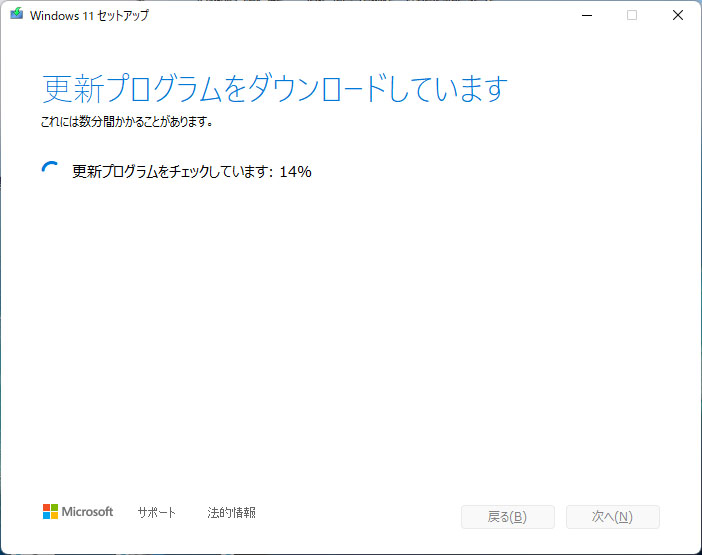
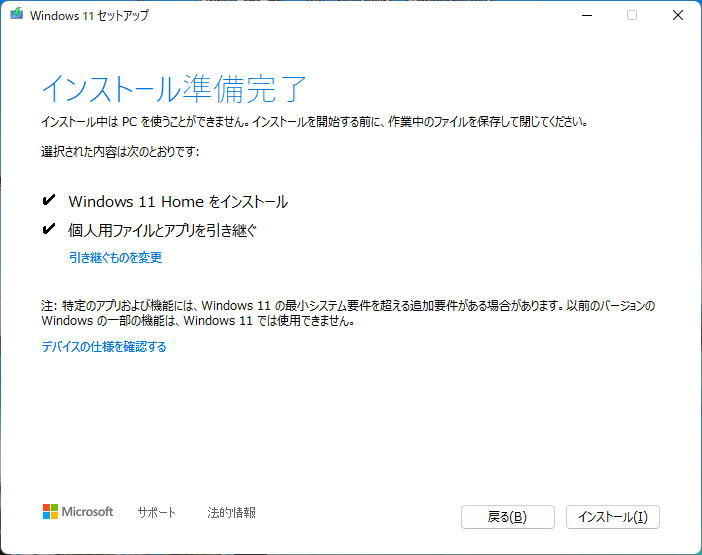
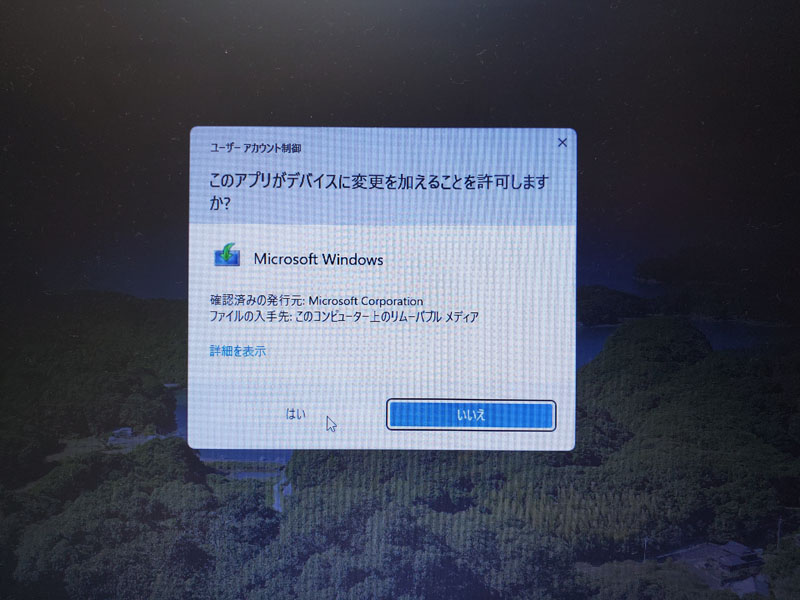
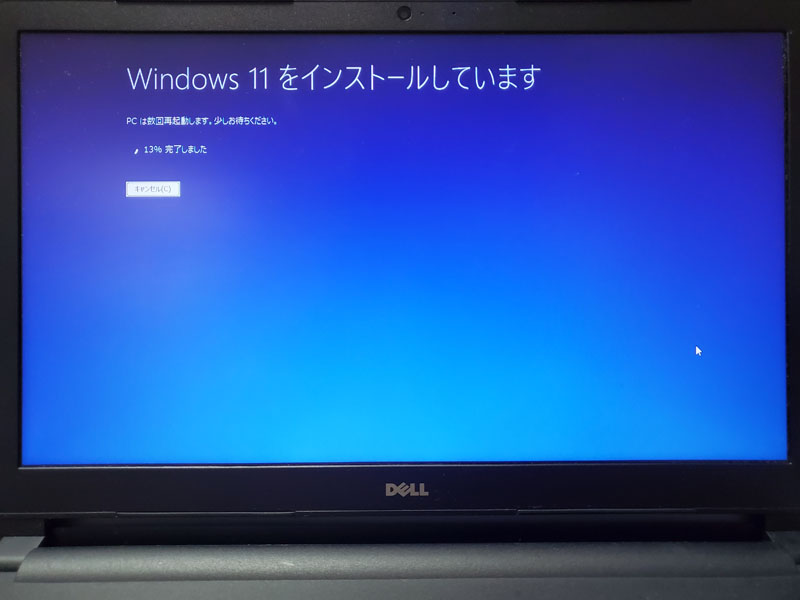
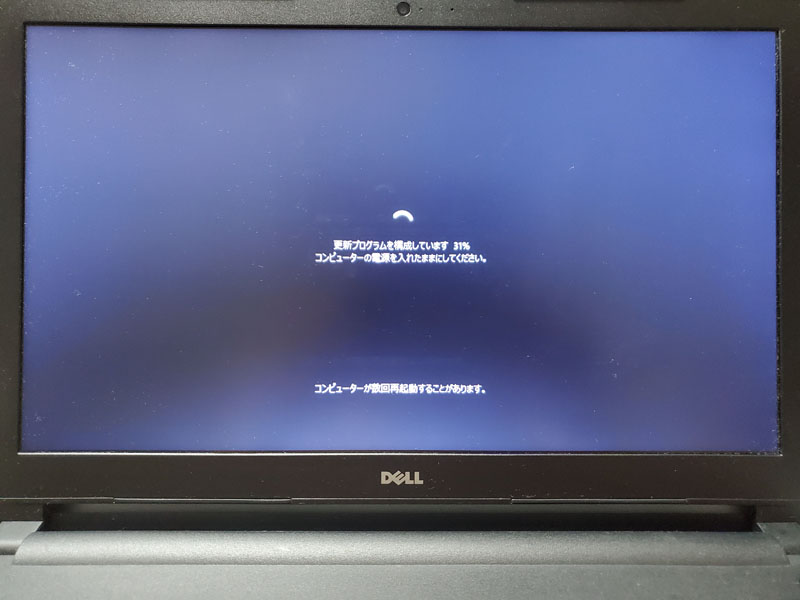

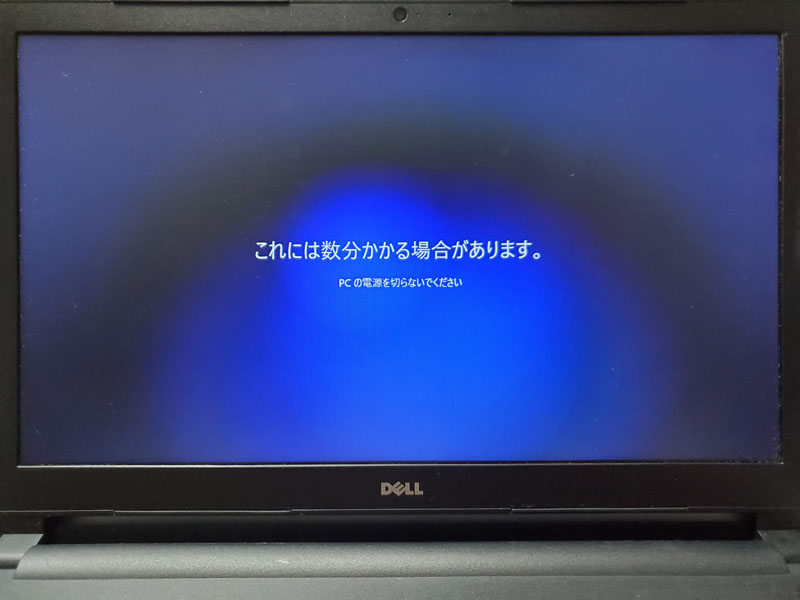
As you can see below, Windows 11 Home (21H2) has been successfully updated to 22H2!
Install Windows 11 22H2 (clean install)
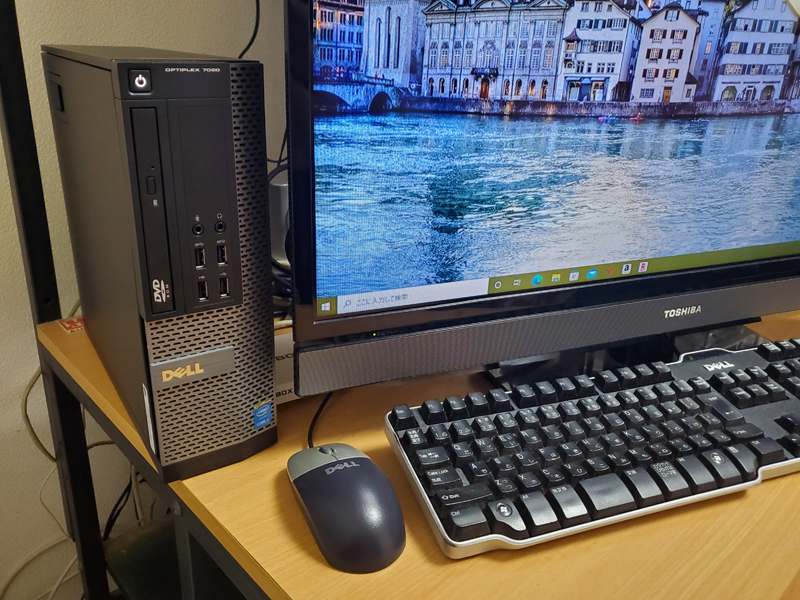
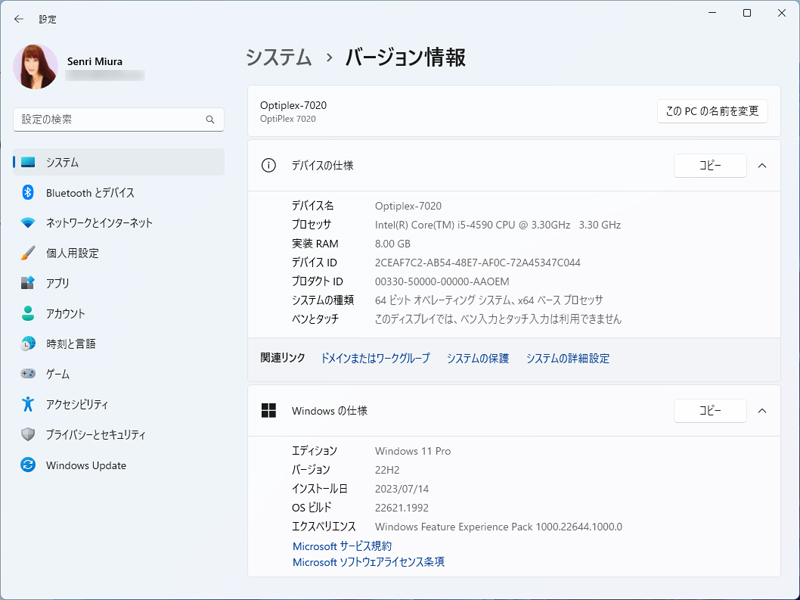
I also installed the latest release and edition of Windows 11 on DELL's desktop computer OptiPlex 7020.
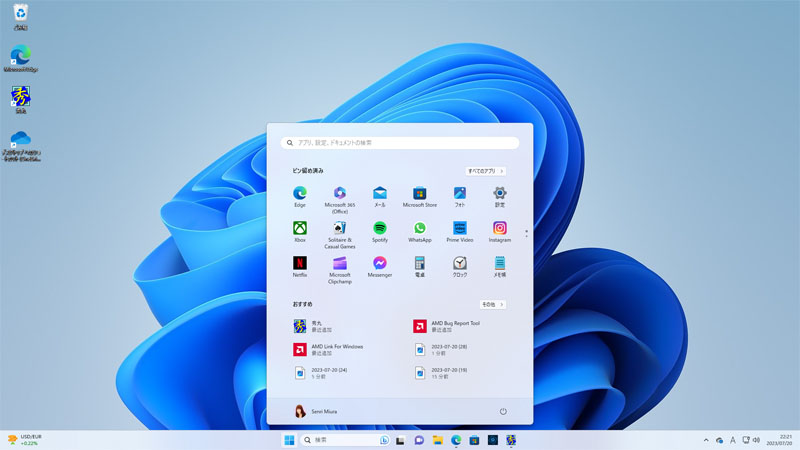
However, on this model, Windows Update of Windows 11 (21H2) failed to update KB5028182 (OS build 22000.2176) and a problem occurred, so I used the USB installation media created by Rufus and did a clean installation with BOOT from the USB drive.
As you can see below, Windows 11 Pro (22H2) was successfully installed!
2023.07.24 Added
How to convert partition scheme from old style MBR to Windows 11 standard GPT for free
Windows 11 uses GPT (GUID Partition Table) as the standard disk partition configuration. On the other hand, MBR (Master Boot Record), which is an old specification, supports BIOS-based firmware, has a maximum partition number of 4, and a disk capacity limit of 2TB.
GPT supports UEFI-based firmware and can recognize a maximum of 128 partitions and disks of 2TB or more.
Therefore, PCs whose BOOT mode supports UEFI also support GPT, so setting to GPT is recommended over MBR.
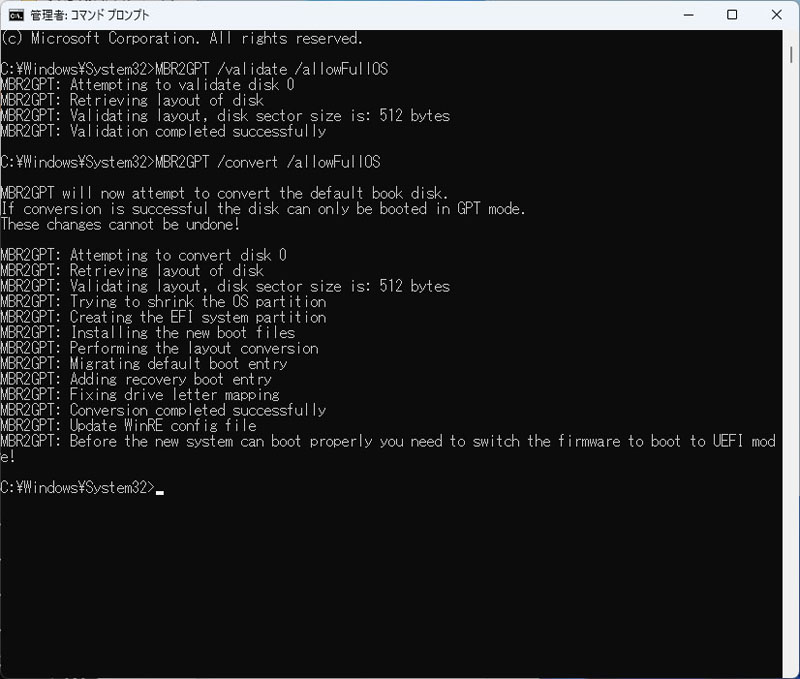
If you have installed Windows 11 with an MBR partition configuration on a PC that supports UEFI, you can later convert the C drive where the OS is installed from MBR to GPT for free using the method described in the article below.
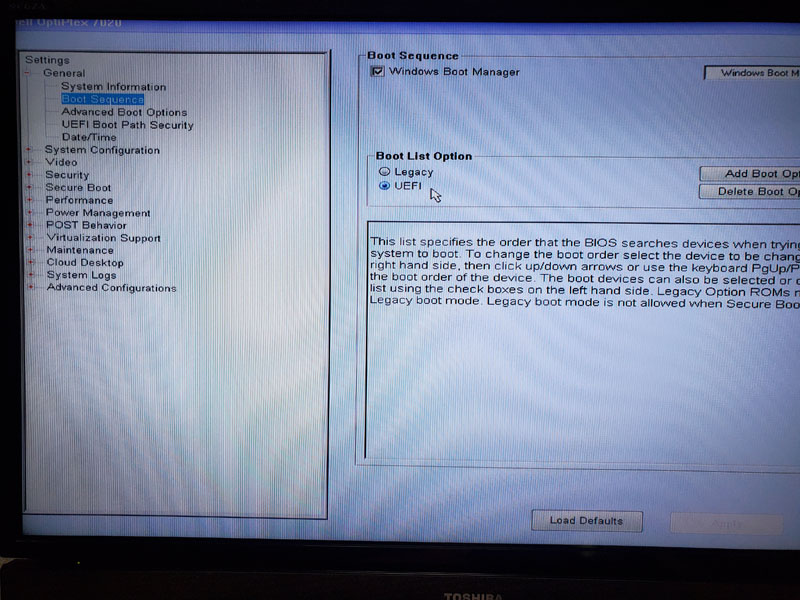
The gallery below is an example of using Windows commands to convert the partition scheme from MBR to GPT, switch the BOOT mode from Legacy to UEFI, and reboot the PC.
2023.11.07 Added
You can upgrade to Windows 11 with a Windows 10 Pro/Home license. For DELL PCs, etc., the product key is set on the motherboard, so there is no need to enter the product key when installing Windows.
Please note that Windows 7/8/8.1 product keys can no longer be used with Windows 11.
2023.12.05 Added
Windows 11 23H2 reports slow PC performance; Microsoft offers a solution
Some users who updated to Windows 11 version 23H2, released by Microsoft on October 31, 2023 local time, have been reporting that their PC performance has significantly decreased.
After receiving reports from users, Microsoft has proposed a workaround.
The solution steps provided by Microsoft are as follows.
- Reset Microsoft Defender using PowerShell commands.
- Restart your PC, open the BIOS screen, and enable CPU virtualization.
- Enable memory integrity in core isolation settings from Windows Security.
- Restarting your PC will run the hypervisor and enable virtualization security.

